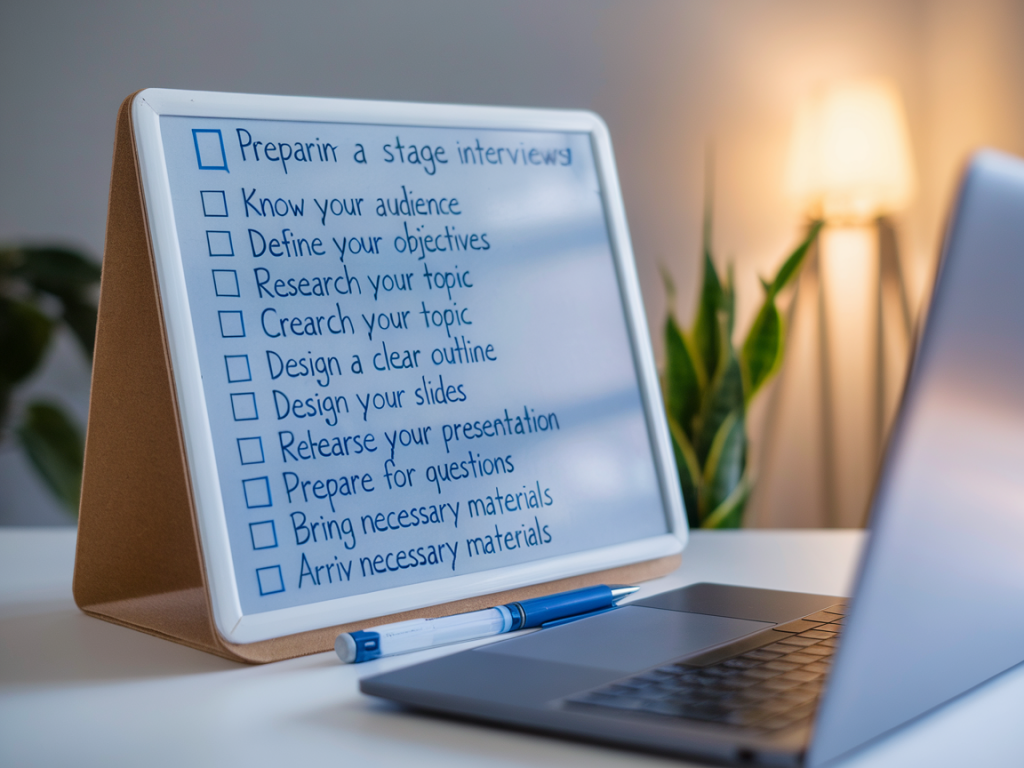
Final-stage interviews often include a presentation task — and for many candidates that's the moment when nerves spike. I’ve coached clients through dozens of these exercises and led hiring panels where a clear, confident presentation made the difference. Below is the checklist I use and share with candidates to prepare a presentation task that’s concise, audience-focused and technically reliable.
Understand the brief and score criteria
Before you do anything else, get crystal clear on what you’re being asked to deliver.
- Ask for the brief in writing if it wasn’t provided — it’s easier to check requirements against your final slides.
- Confirm the target audience: senior managers, technical teams, or non-executive staff? Tailor your language and examples accordingly.
- Find out the scoring rubric or success criteria. Is the panel assessing structure, commercial awareness, technical detail, delivery skills, or recommendations?
- Check time limits, allowed materials and whether you can use handouts or show a live demo.
Plan your message: what one thing should they remember?
I always advise clients to pick a single, memorable takeaway. When you have a clear central message, everything else supports it.
- Write a one-sentence central message and put it at the top of your notes.
- Structure your talk around: Situation — Insight — Recommendation. This works for case-style tasks and project proposals alike.
- Limit to 3–4 supporting points. Too many ideas dilute impact.
Slide design and materials
Simple beats fancy. Recruiters and hiring managers want clarity, not design gymnastics.
- Use a clean template — company brand if provided, otherwise stick to a neutral palette and high-contrast fonts (e.g., Arial, Calibri).
- One idea per slide. Avoid dense slides; aim for no more than 6 lines of text per slide.
- Use visuals sparingly: charts, timelines or process diagrams can be persuasive, but ensure they’re readable at a glance.
- Embed supporting data in an appendix you can reference if asked — don’t bury numbers in your main slides.
- If you use icons or stock images, choose consistent style and a professional source (Unsplash, Shutterstock, or built-in templates in PowerPoint/Google Slides).
Timing and pacing — practice like a pro
Timekeeping is one of the easiest things to get right — and the quickest way to fall apart if you don’t practice.
- Rehearse at least three full runs with a stopwatch. Try speaking slightly slower than natural — nerves speed you up.
- Plan short pauses after major points to let ideas land.
- Have a time-check system: a subtle wristwatch glance, a slide with visible timers, or a printed cue card at the lectern.
| Presentation length (example) | Main sections |
|---|---|
| 10 minutes | 1 min hook • 3 min context • 4 min recommendations • 2 min close/next steps |
| 15 minutes | 1–2 min hook • 4–5 min context & insight • 5–6 min recommendations • 2 min close |
Technical checklist
Technical issues are preventable. Treat them like non-negotiable prep.
- Confirm the required file format: PowerPoint (.pptx), PDF or Google Slides link. Save multiple copies.
- Bring your own adapter (USB-C to HDMI, VGA, etc.) and a backup laptop or PDF on a USB stick.
- Test the room tech in advance where possible — screen resolution, sound, pointer, and Wi‑Fi access.
- If presenting remotely, test your webcam, microphone and background. Use a wired connection or a reliable Wi‑Fi network; close unnecessary apps to save bandwidth.
- Have an offline version of any live demo or video — videos can fail, so be ready to summarise the key points verbally.
Delivery: presence, language and questions
How you say it matters nearly as much as what you say.
- Start with a brief hook — a data point, a short story or a clear statement of the problem.
- Use signposting language: “first”, “in summary”, “the recommended option is…”. It helps the panel follow your argument.
- Keep language accessible. If the role is non-technical, avoid jargon; if technical, name assumptions clearly.
- Maintain eye contact across the panel. If virtual, look at the camera during key points and occasionally at participant windows to gauge reaction.
- Manage Q&A by inviting questions after each section or at the end — follow the format asked for in the brief.
Anticipate and prepare for questions
I recommend creating a short FAQ list based on the brief and your slides.
- Write down likely challenge questions (cost, feasibility, risks) and craft concise answers.
- Prepare an evidence folder (one-page summary, citations, references) to hand over after the presentation or to reference in answers.
- If you don’t know an answer, be honest: say you’ll follow up and specify what you’ll do to find the information and by when.
Practical logistics and personal presentation
Small practical choices help you feel composed and credible.
- Dress slightly more formally than the team’s everyday attire unless told otherwise. Smart-casual is typically safe in the UK; for senior roles choose a suit or blazer.
- Bring a printed one-page summary for each panel member — it looks professional and gives people something to follow.
- Arrive early to set up and calm nerves. If virtual, join the meeting five minutes early to check settings.
- Pack water, spare batteries and a printed copy of your slides or notes.
Post-presentation follow-up
How you close and follow up can reinforce your fit for the role.
- Offer to share slides and the one-page summary afterwards.
- Send a brief thank-you email within 24 hours mentioning one key discussion point and any promised follow-up information.
- Reflect on feedback immediately — note what worked, what didn’t and how you’ll adjust for next time.
Use this checklist as a preparation framework rather than a script. Adapt it to the role, the organisation and the format you’ve been given. With practice, clear structure and a few technical safeguards, you’ll reduce the unknowns and let your ideas—and your presence—stand out.

